Minimum order $50 Cad Sorry No Shipping to other countries as of yet.
Your cart is currently empty
Product image slideshow Items
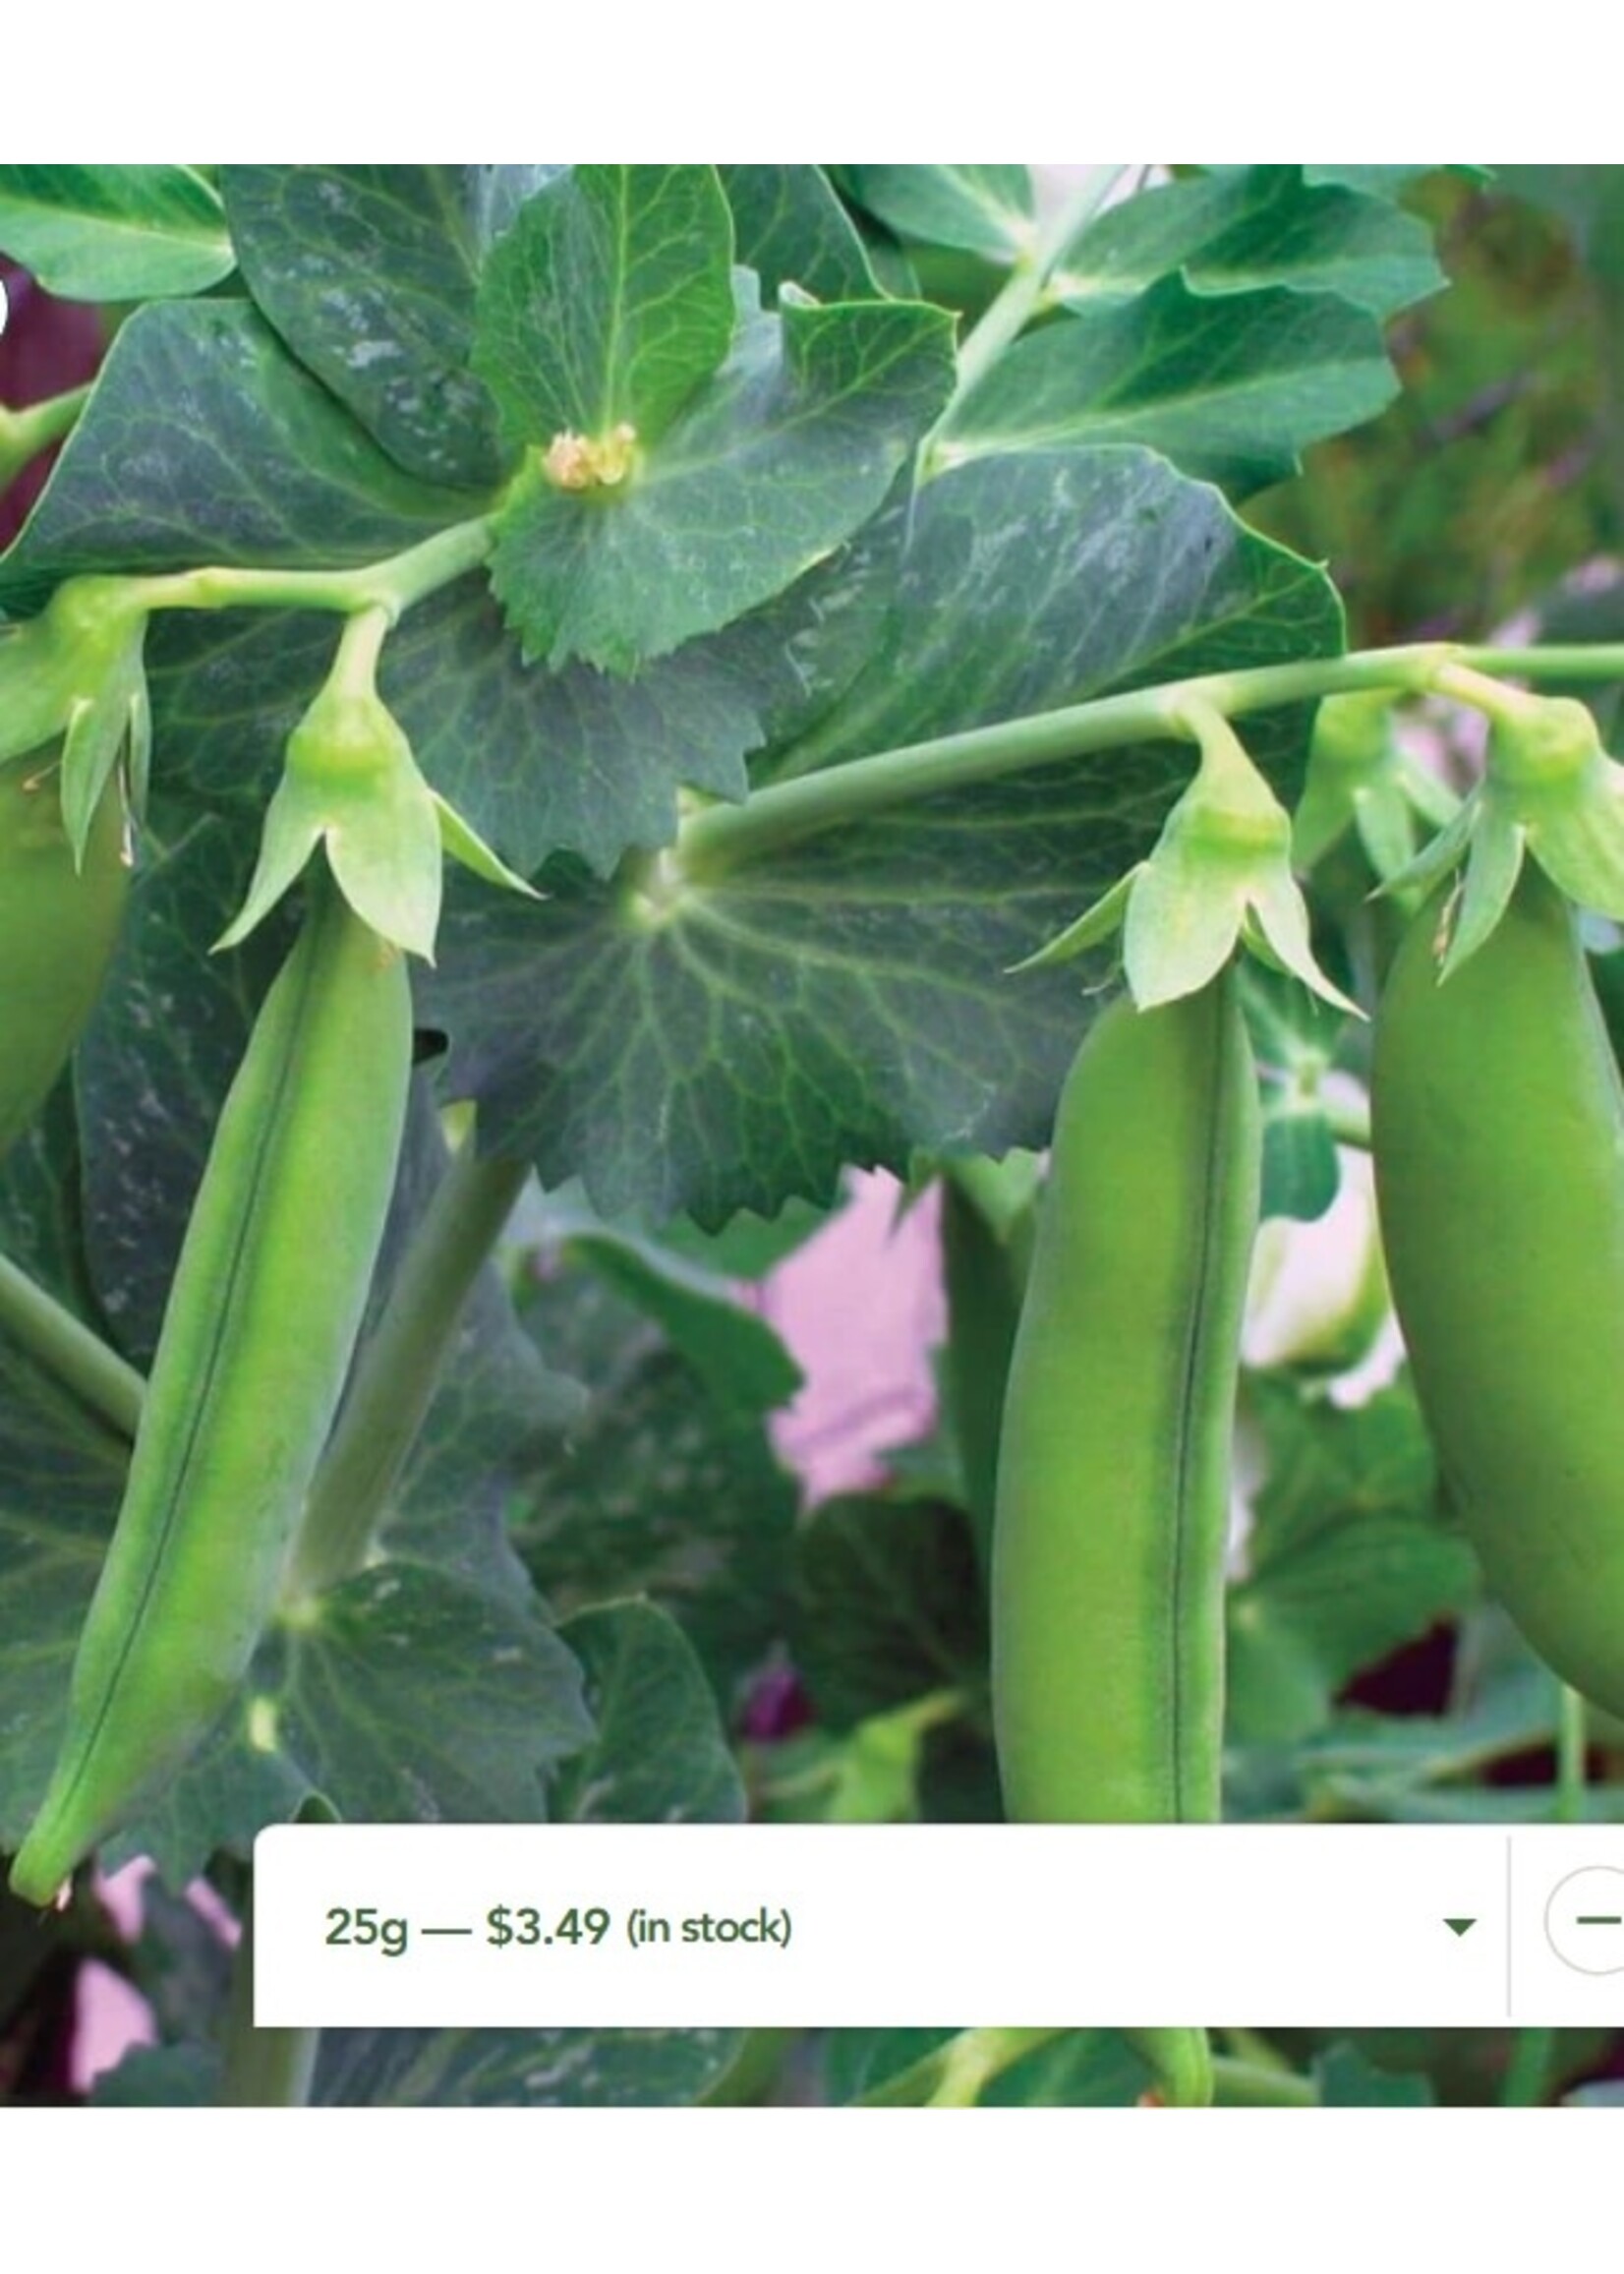
This super-early HEIRLOOM bush pea has been a favorite both for home gardeners and commercial growers. Stocky, semi-dwarf bushes from 30-45cm (12-18") tall are well suited to container growing for balcony gardens, or in the vegetable bed
This early heirloom shelling pea forms stocky, semi-dwarf bushes from 30-45 cm (12-18") tall and is well suited to growing in containers or the vegetable bed. Each of Little Marvel's 8-10 cm (3-4") pods contains 6-9 medium green, sugary peas. This is a winner of the RHS Award for Garden Merit. Can be grown in spring and cut back in time to plant a summer crop, leaving the soil enriched with nitrogen.
Little Marvel shelling pea seeds were first introduced as Sutton's Little Marvel in 1900. It is an old, dependable variety with an extended season, fine quality, and heavy yields.
Matures in 62 days. (Open-pollinated seeds)
Difficulty Easy
Timing
Peas prefer cool weather. Plant as early in spring as the soil can be worked. If planting on the west coast after April 1, sow varieties that are listed as being enation resistant if you live in an area where aphids carry the enation virus. Sow again through the summer for a fall crop. The success of a fall crop will depend on the weather. Optimal soil temperature: 10-20°C (50-70°F). Seeds should sprout in 7-14 days.
Starting
Soaking seeds is not advised for damp soils. Sow seed 2cm (1″) deep. After April 15th, sow seed 5cm (2″) deep. Space seeds 2-7cm (1-3″) apart in the row. Do not thin. If the seeds fail to sprout, try to dig some up and check for rot or insect damage. The challenge with untreated pea seeds is to give them an early start but to avoid rot.
Growing
Use well-drained soil amended with finished compost. Add 2 cups of rock phosphate or bonemeal for 3m (10′) of row. Plant most varieties along a trellis or fence for support as they climb. Dwarf varieties do not need a trellis, but may benefit from the support of some twigs poked into the soil in the row.
Harvest
Pick when pods at the desired stage. In theory, all peas can be harvested before the seeds mature, as snow peas, and then as tender snap peas, and finally as shelling peas. Most varieties have an intended maturity for picking. Make multiple sowings or grow several varieties to extend the harvest season.
How to Blanch Peas
Peas of all kinds freeze particularly well for use in the fall and winter. Prior to freezing, it’s important to briefly submerge peas in boiling water — this kills the natural enzymes that exist in peas that would otherwise reduce the nutrients and cause the peas to break down over time. We recommend using a large pot of water at a rolling boil, and a colander or sieve for dipping. Timing is everything. For snap and snow peas, dip the whole pods into boiling water for exactly two minutes, and then transfer the pods to a bowl of ice water. For shelled peas, ninety seconds is perfect. Use a timer. After ninety seconds, transfer the peas to a bowl of ice water. All peas (and pods) should then be dried thoroughly on kitchen towels before being stored in zip-top or vacuum bags, with as little air as possible in each bag.
Diseases & Pests
If plants turn yellow and wither from the ground up just after flowering, you may have pea root rot from a soil fungus. It infects the plant in early spring when the soil is very wet. Prevent it by delaying planting until the soil is drier and by using finished compost when you plant. Rotate peas into new areas each year without repeating an area for 3-4 years. Pea enation disease is a Coastal virus disease spread by the green peach aphid. It ends flowering and causes pods to become warty and misshapen.
The pea moth is a sporadic and usually inconspicuous pest. The tiny brown moth flutters around when the flowers are just opening, and lays it eggs on the immature seed pod. The damage the caterpillar does not mean you can’t eat the rest of the peas in the pod. The larva is a tiny caterpillar with a black head, which feeds inside the seedpod and overwinters in the soil. There is one generation per year across Canada. In the pea-growing areas of the lower Fraser Valley in British Columbia, releases of two parasites have provided partially effective biological control. In general, processing and fresh-market pea crops should not be grown in areas with dry (seed) pea or seed vetch crops. After harvest, all remaining pods and vines should be destroyed by ensiling, feeding, or deep cultivating.
Companion Planting
Superb companions for beans, carrots, celery, corn, cucumber, eggplant, parsley, peppers, potatoes, radish, spinach, strawberries, and turnips. Avoid planting peas near onions.
How to Grow Shelling Peas
Step 1
Timing
Peas prefer cool weather. Plant as early in spring as the soil can be worked. If planting on the west coast after April 1, sow varieties that are listed as being enation resistant if you live in an area where aphids carry the enation virus. Sow again through the summer for a fall crop. The success of a fall crop will depend on the weather. Optimal soil temperature: 10-20°C (50-70°F). Seeds should sprout in 7-14 days.
Step 2
Starting
Soaking seeds is not advised for damp soils. Sow seed 2cm (1″) deep. After April 15th, sow seed 5cm (2″) deep. Space seeds 2-7cm (1-3″) apart in the row. Do not thin. If the seeds fail to sprout, try to dig some up and check for rot or insect damage. The challenge with untreated pea seeds is to give them an early start but to avoid rot.
Step 3
Growing
Use well-drained soil amended with finished compost. Add 2 cups of rock phosphate or bonemeal for 3m (10′) of row. Plant most varieties along a trellis or fence for support as they climb. Dwarf varieties do not need a trellis, but may benefit from the support of some twigs poked into the soil in the row.
Step 4
Germination
Days to maturity: From direct sowing.
Step 5
Harvest
Pick when pods at the desired stage. In theory, all peas can be harvested before the seeds mature, as snow peas, and then as tender snap peas, and finally as shelling peas. Most varieties have an intended maturity for picking. Make multiple sowings or grow several varieties to extend the harvest season.
How to Blanch Peas
Peas of all kinds freeze particularly well for use in the fall and winter. Prior to freezing, it’s important to briefly submerge peas in boiling water — this kills the natural enzymes that exist in peas that would otherwise reduce the nutrients and cause the peas to break down over time. We recommend using a large pot of water at a rolling boil, and a colander or sieve for dipping. Timing is everything. For snap and snow peas, dip the whole pods into boiling water for exactly two minutes, and then transfer the pods to a bowl of ice water. For shelled peas, ninety seconds is perfect. Use a timer. After ninety seconds, transfer the peas to a bowl of ice water. All peas (and pods) should then be dried thoroughly on kitchen towels before being stored in zip-top or vacuum bags, with as little air as possible in each bag.